Align Tool in Silhouette Studio
Oct 19, 2020
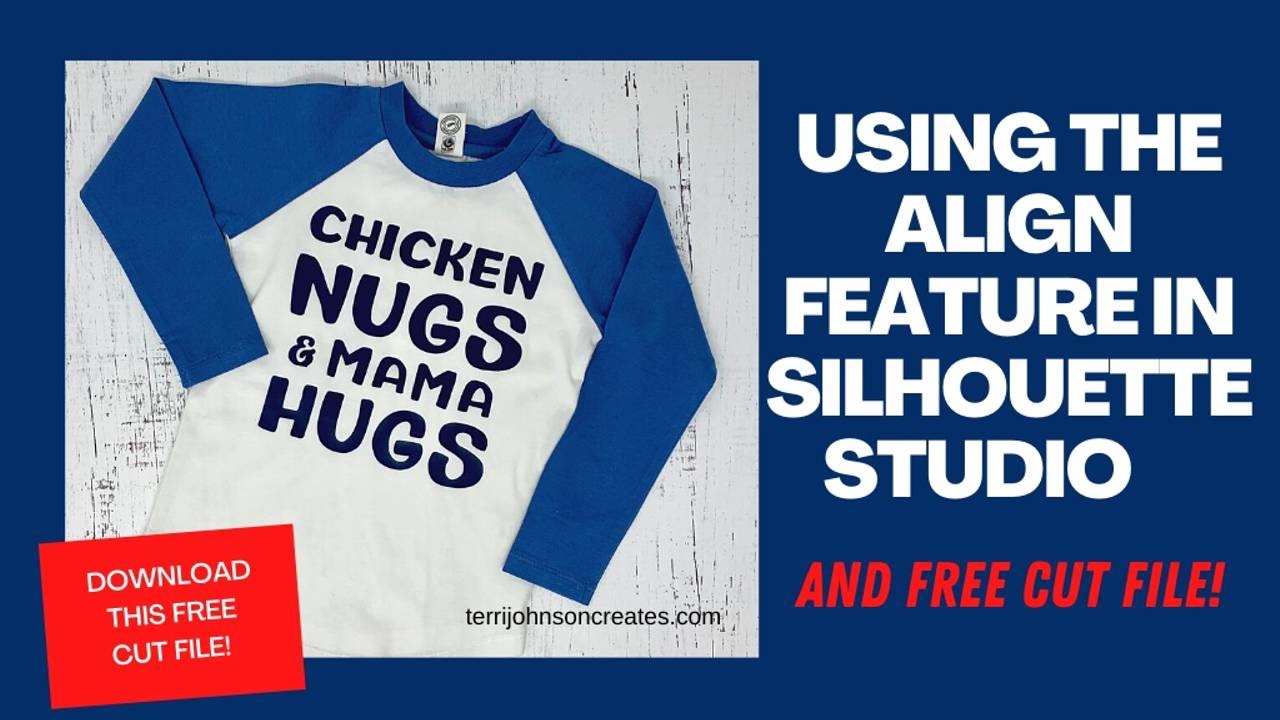
I don’t know about the kids in your life, but my grandkids LOVE Chicken Nuggets! Pretty much a staple in their diet — McDonald’s, Chick-Fil-a, Frozen at home — doesn’t seem to matter. So I thought that this design was PERFECT for a shirt for them!
 I want to share with you how I created this file, using the Charley and Blue Font Duo from the “Little Craft Bundle Vol. 9” at Design Bundles — and the awesome Align Feature in Silhouette Studio. This is an awesome font, that comes with Regular font, Handwriting font, and Catchwords. It’s really 3 in 1 — and a great value when it’s regularly $11 on its own. But this week, you can get the Charley & Blue Font in this bundle — which is only $15 — and includes a ton of fonts & SVG files!

Also essential in creating this design (and lots of others) is the Align Feature in Studio. (Also, if you are using Silhouette Studio 4.4, then you have the additional feature of Smart Snapping — which helps tremendously in this process.) So let’s get started!
- Open the Text panel & select the Charley & Beau font (regular). In the left-hand Toolbar, select the Text Tool. Click in your workspace & type “Chicken Nugs & Mama Hugs” as shown.

- Ungroup the text — either by right-clicking & selecting Ungroup — OR with the file selected, go to the Top Menu Bar – select Object –> Ungroup. When you ungroup the text, it will not only ungroup the words from one another — but it will ungroup each letter. So at this point, select the letters in each word & group the word together. Then, you can size & move the different words as you wish.

- Now, with each word separated, you can enlarge the words “Nugs” and Hugs” to about 4.5″. (You will have to move the other words out of the way).
- Select the word “chicken” and go to the Quick Access Toolbar & with the Scale tool locked, size the word to the same size as the word NUGS – (4.59 in my example). Repeat this for the words “& Mama”.

- Now, with everything sized the way you want – you need to align them. So select all, again – go to the Quick Access Toolbar & select “Align Middle”. This lines everything up in the Center. Then, to have them evenly spaced, Select “Space Vertical”.

- So, that’s it!! It is just that easy! The Align & sizing tools are just so handy in combining & creating your own designs. Be aware that you can also access these tools from the right hand Panel tools — in the “Transform panel”, you can select the Align window and the Scale window — to accomplish the same thing.
 And now — you can size it all to the desired size for your project — Just Select All & Group. Then scale it up or down to fit whatever you are cutting. Remember, if you are cutting Heat Transfer Vinyl for a shirt – -be sure to mirror Horizontally, as you are cutting from the backside.
 -
If you like this font — head on over to Design Bundles & grab this bundle! It’s just for this week, and includes not only this font — but 3 or 4 more fonts & SVG files! Great value!
As promised — You can DOWNLOAD this Free Design HERE!

FYI – This post may contain affiliate advertising. This means that if you click a link in the post, I may make a commission based on your purchase. The price you pay for the product or service is not higher, and the commissions I earn allow me to keep sharing tutorials & info with you.
Stay connected with news and updates!
Join our mailing list to receive the latest news and updates from our team.
Don't worry, your information will not be shared.
We hate SPAM. We will never sell your information, for any reason.


